
3 Squat Variations That Save Your Knees (Pain-Free Squatting Tips)
Nov 13, 2025
If you get knee pain when you squat, the problem isn’t always your knees, it can often be HOW you’re squatting and which variation you’re using.
Different squat setups can completely change how load is distributed through your body, especially across the hips, knees, and ankles. The key is to find a variation that lets you decelerate efficiently, manage pressure, and stay balanced throughout the movement.
Let’s break it down.
Understanding the Squat: What’s Really Happening
The squat has two key phases:
-
Descent (eccentric phase) – when you lower yourself into the squat.
-
Ascent (concentric phase) – when you drive back up.
During the descent, your hips move into external rotation, your knees and ankles flex, and your body has to decelerate under load. Around 90 degrees of knee bend, the “sticking point”, your tibia (shin bone) needs to internally rotate.
That internal rotation allows the knee to bend and helps shift weight slightly toward the inside edge of the feet. When this happens correctly, the pelvis can lift slightly, the pelvic floor engages, and you can generate pressure and force into the ground to control the descent.
If any of these mechanics are limited (restricted ankle mobility, poor hip flexion, or loss of pelvic control) you’ll likely feel the stress at the knee.
That’s why instead of forcing depth or “pushing through” pain, it’s smarter to adjust the variation so your body can move through the range it actually has access to.
Variation 1: Heels-Elevated Goblet Squat to a High Box
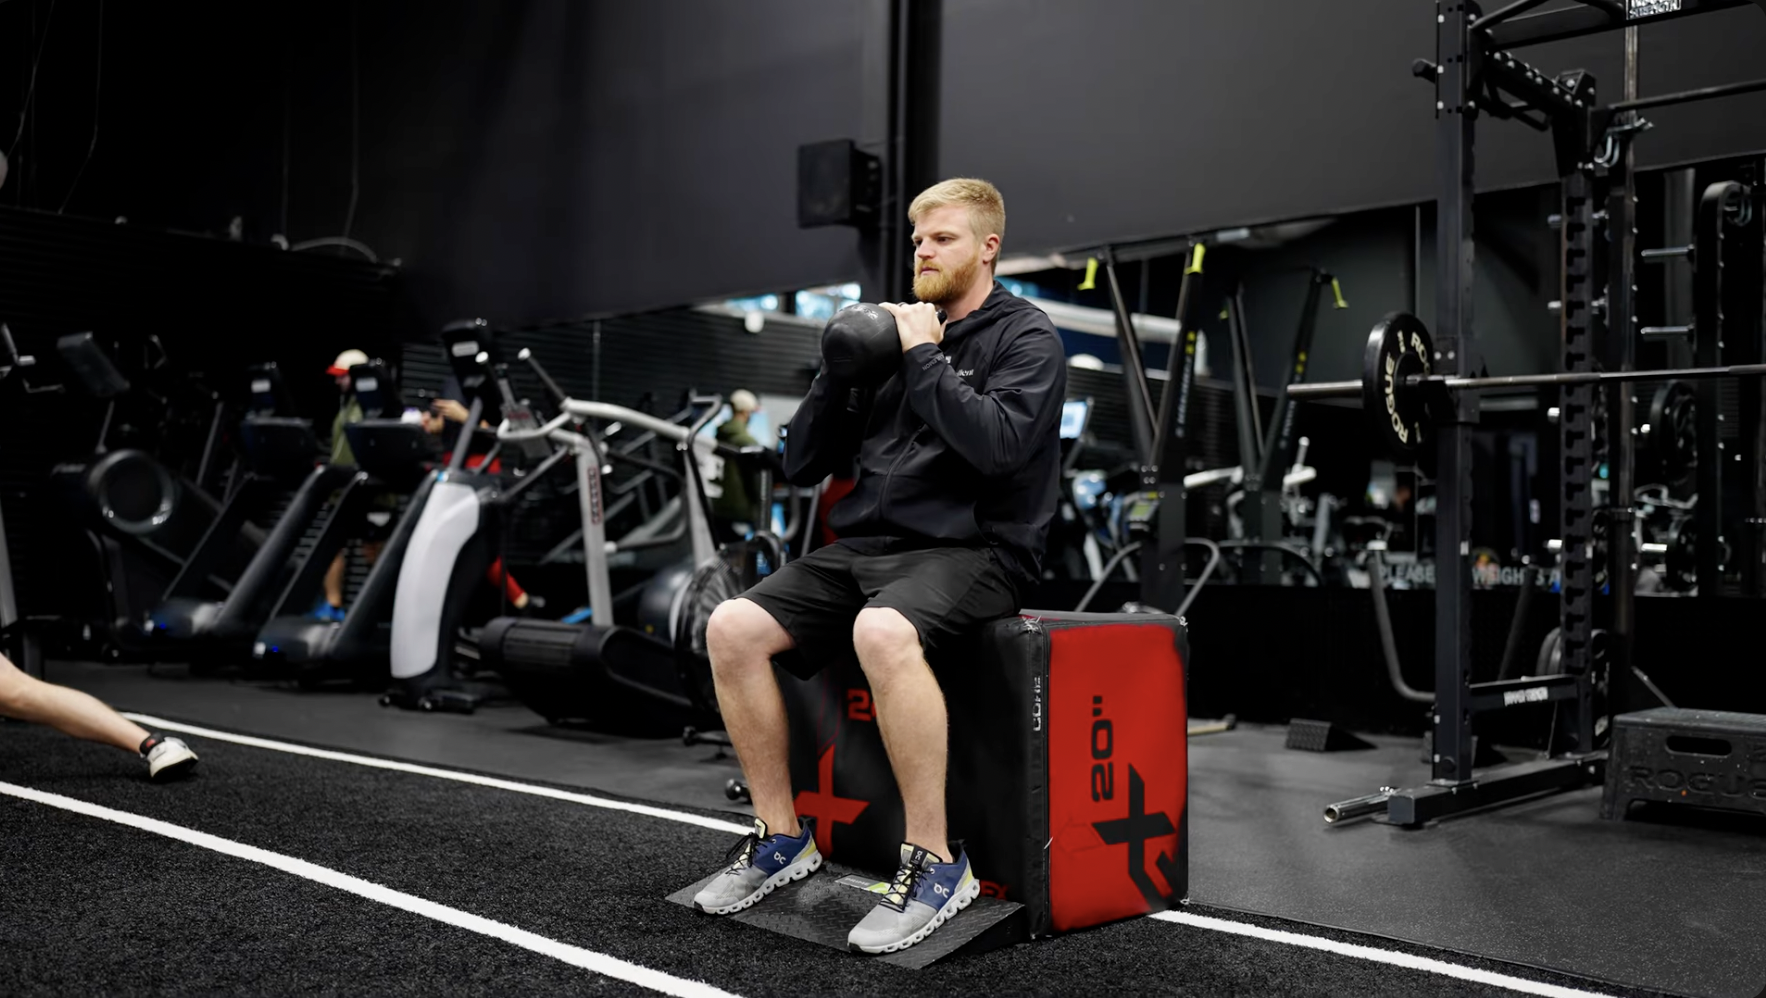
This first variation is designed to improve control in the descent while minimizing strain on the knees.
Elevating the heels shifts your weight slightly backward, which reduces the forward translation of the knees and decreases pressure on the joint. Adding a box limits range of motion at first, making it easier to focus on technique.
Holding a kettlebell in front (goblet position) helps counterbalance the body so you can stay more upright.
How to do it:
-
Set your heels on small plates or a wedge.
-
Hold a kettlebell at chest height.
-
Take a breath in through your nose.
-
Exhale as you slowly descend to the box, maintaining control.
-
Hold briefly at the bottom, then inhale to stabilize before driving up.
Breathing out during the descent promotes internal rotation at the hips and helps unweight the pelvis- allowing for better depth and less compensation.
Variation 2: Safety Bar Squat to Box (No Heels Elevation)
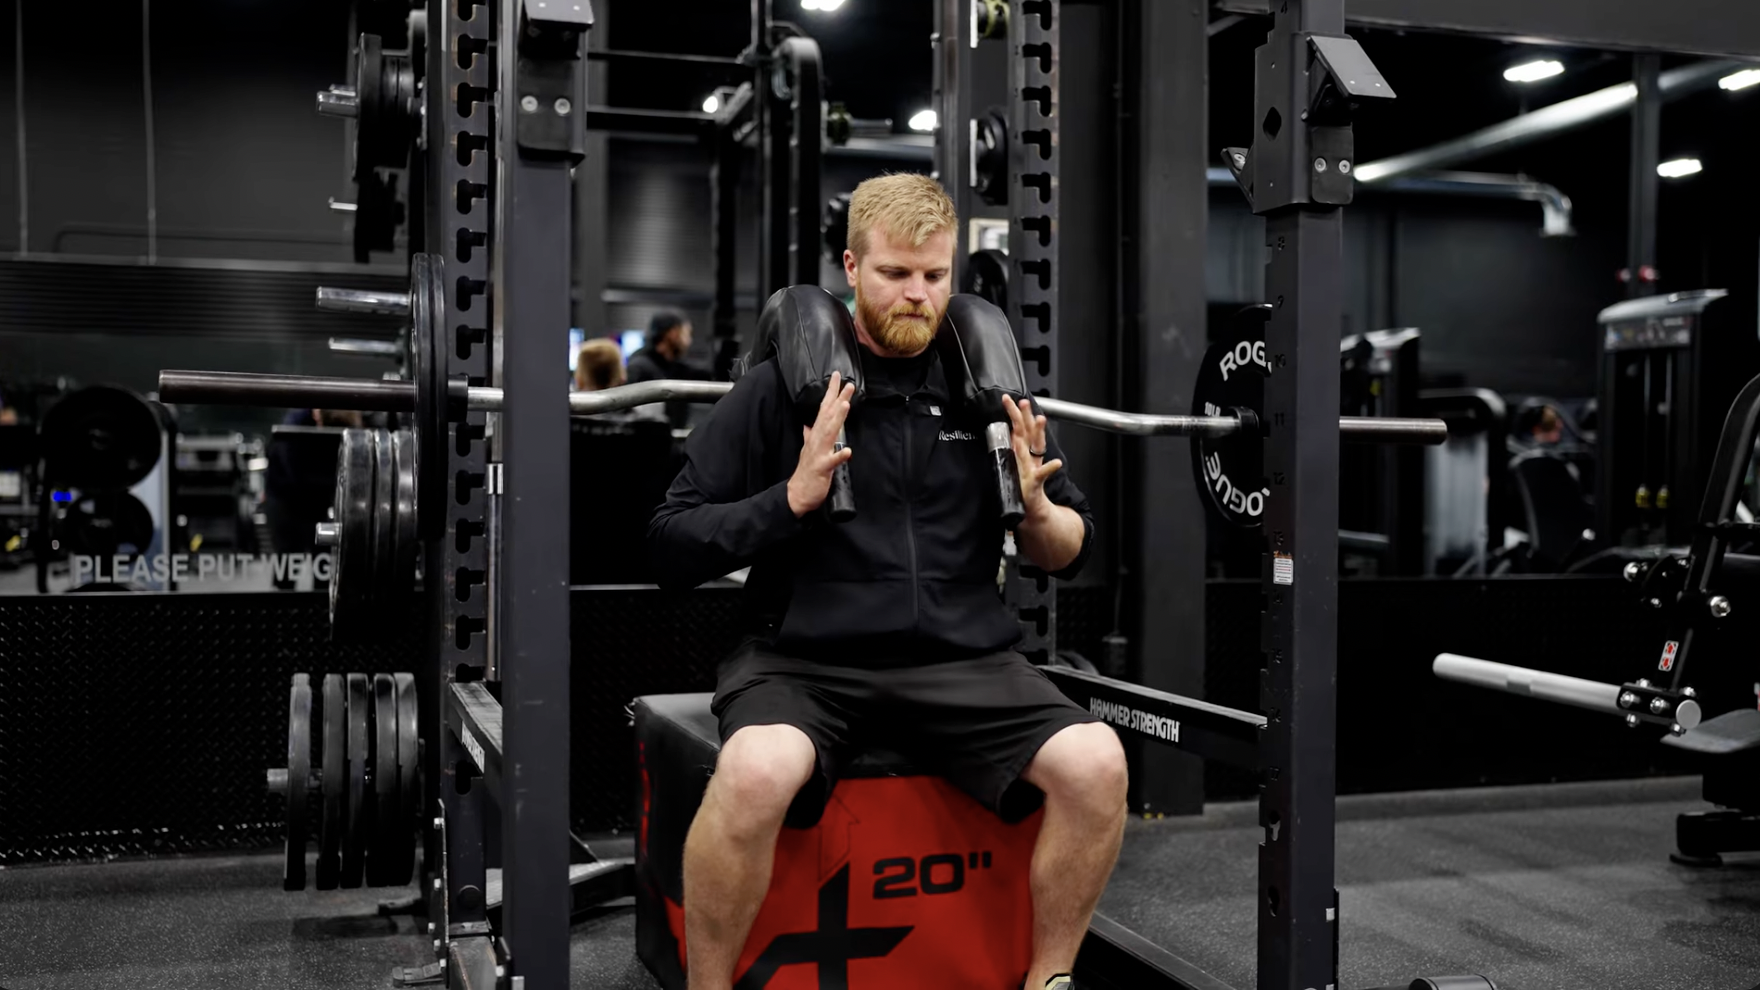
Once control improves, you can remove the heel elevation and increase depth.
This setup challenges you at roughly 90 degrees of hip and knee flexion, where internal rotation peaks and maximum force absorption occurs. The goal here is to maintain stability through the hips, knees, and ankles without collapsing forward or losing tension.
Coaching cues:
-
Keep the weight distributed through your heels and mid-foot.
-
Stay balanced on the inside edges of your feet.
-
Don’t let the knees cave in; track them between the second and third toe.
-
Control your descent all the way to the box.
This variation teaches your body how to decelerate load through the right joint mechanics- so your knees don’t take on the entire burden.
Variation 3: Kettlebell Drop Squat
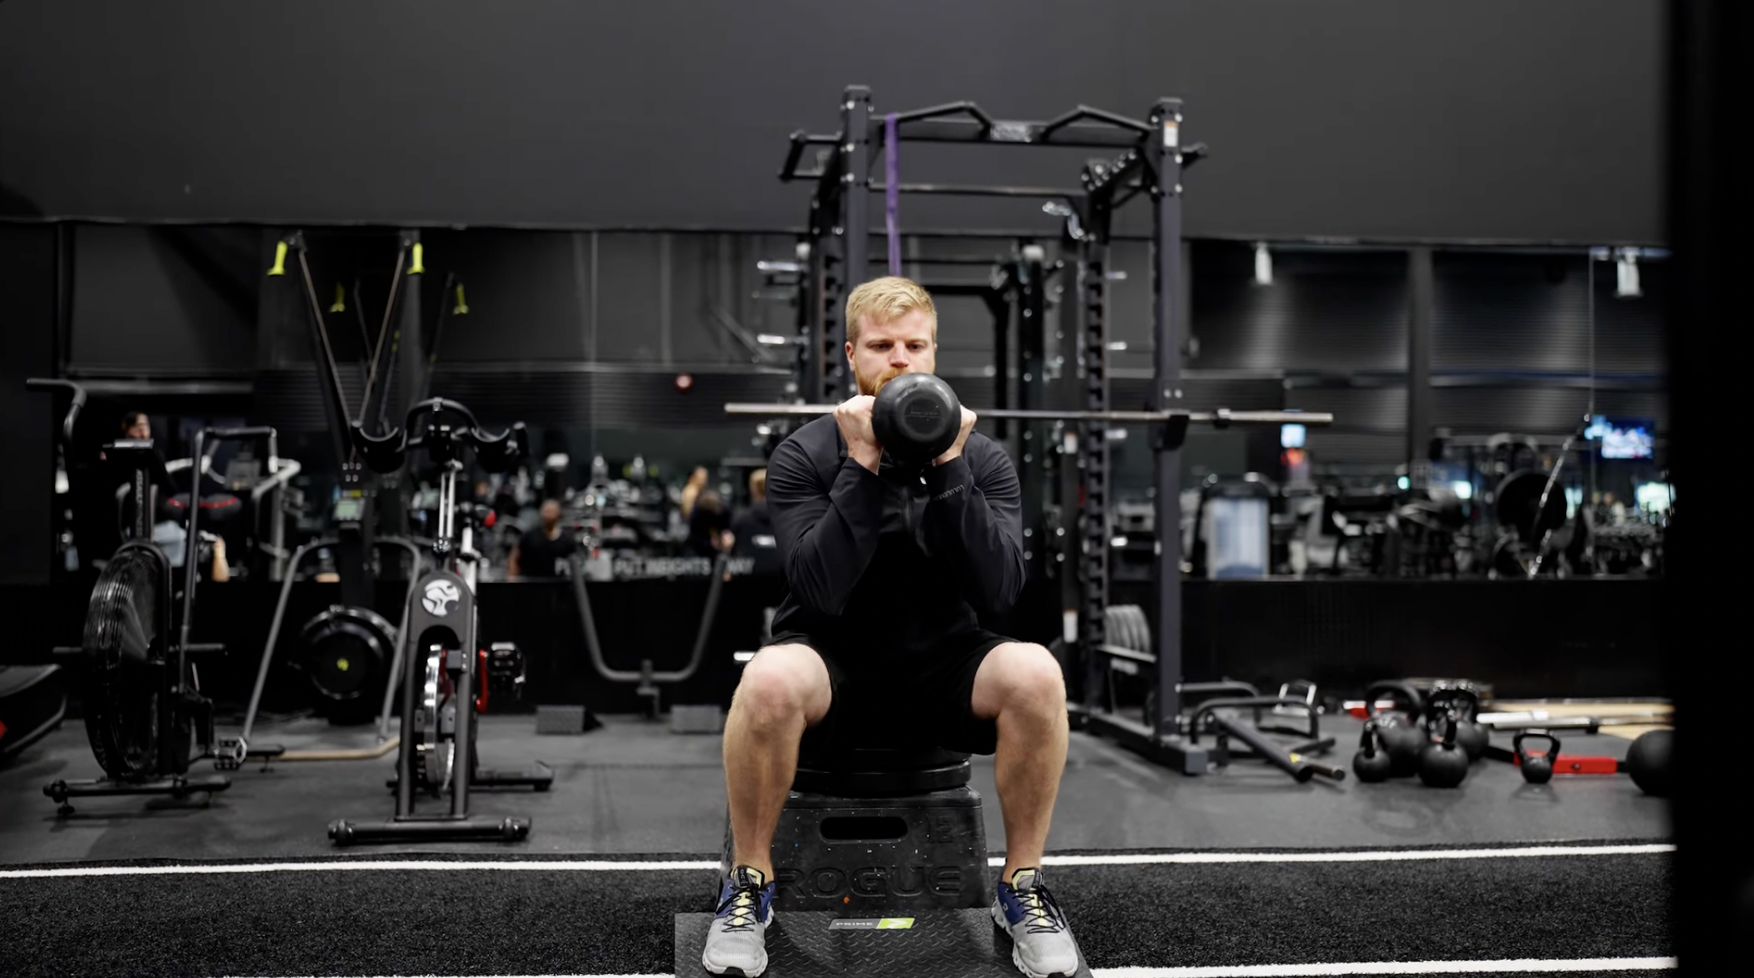
The final variation adds speed and dynamic control.
Here, you’ll catch a kettlebell at the bottom of the movement, forcing your body to quickly decelerate and stabilize. The box height is lower to allow for deeper hip flexion, meaning your knees will travel slightly higher than your hips at the bottom.
When you drop into the catch, the goal is to absorb force efficiently without collapsing forward.
Key points:
-
Keep your torso tall and elbows slightly forward.
-
Drop into position by sitting back toward your heels and sit bones.
-
Catch and control the kettlebell before standing tall again.
This exercise helps you access and strengthen deeper ranges of hip flexion while teaching your body how to handle force- essential for returning to powerful, pain-free squatting.
Knee pain during squats doesn’t mean you need to give up squatting, it just means you need a smarter approach.
By adjusting range of motion, load position, and depth, you can restore proper joint mechanics and train without discomfort.
Watch the full breakdown in this week’s video for form demonstrations and coaching tips:
3 Squat Variations That Save Your Knees (Pain-Free Squatting Tips)
And if you’re ready to rebuild efficient movement patterns that carry into every lift, check out the Rebuild Blueprint, a 12-week program that takes you from post-pain to performance using the same biomechanical principles I teach in my mentorship and courses.

