
Better Coaching Cues for Rib Flare and Pelvic Tilt
Nov 12, 2026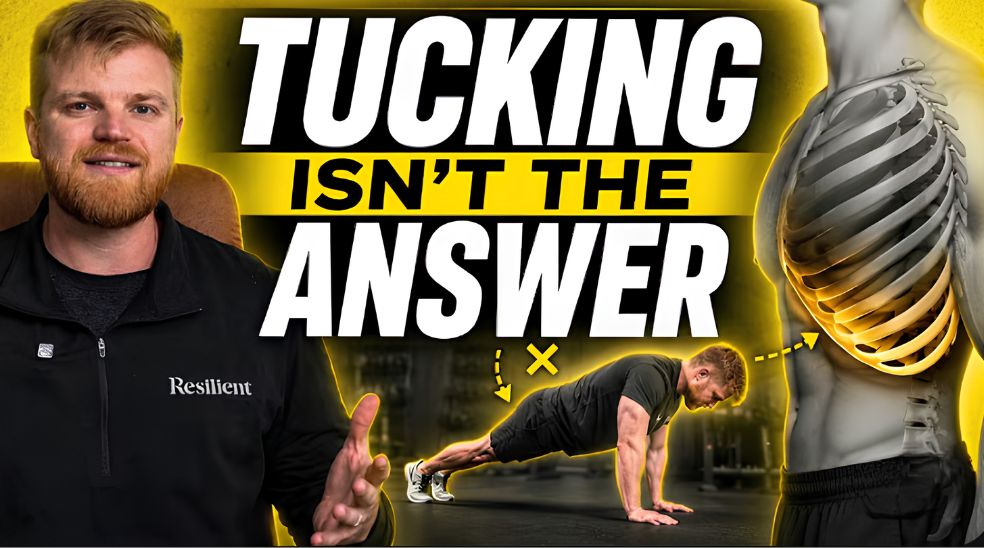
I had a conversation with a client recently about two cues they'd seen all over the internet. They'd been given both of them personally more than once: tuck your ribs, and tuck your pelvis.
These are two cues I'm not particularly fond of. The goal behind them makes sense, since a coach who sees flared ribs or a pelvis dumping forward wants to get those areas into a better position. The problem is that these cues don't put the body where we think they do.
Why tucking the ribs or pelvis falls short
When we cue the ribcage or pelvis directly, the client tends to move that whole structure as one unit. They put their hands on their hips, tuck under, and focus hard on pulling their ribs down. What gets missed is how much the arms, hands, legs and feet influence these areas.
Here's what usually happens with each cue.
Tell someone to tuck their pelvis and they'll squeeze their glutes and roll back. Their lower back starts to flex, which looks a lot like a butt wink. Because the pelvis is rolling back as one big unit, the whole system collapses with it and they start moving toward a sway back-like position, with their abs and glutes working far harder than they should. Try squeezing your glutes as hard as you can and then bending over to touch your toes or doing a deadlift. It's very hard to do.
Tell someone to tuck their ribs and you'll often see their whole body collapse. Their head drifts forward and their shoulders round.
In both cases these are compensations. They don't open up the range of motion people think they do, and they can make the original limitation worse. If someone is sitting in an anterior pelvic tilt and we cue them to roll their pelvis back, we've taken them from one extreme to the other.
It's similar to seeing someone's knees cave in and telling them to push their knees out. It doesn't address why the knees are going in to begin with.
Working distal to proximal
The approach I use is to work distal to proximal. The distal structures are the arms, hands, legs, knees and feet. The proximal structures are the ribcage and pelvis.
Instead of going straight at the area that's out of position, I ask why the ribs are flaring or why the pelvis is dumping forward. Once I understand that, I can use everything above and below those areas to bring them back. That gives the client a better position to work from and helps restore range of motion.
Rib flare: start at the hands
A common example is the push-up. Someone gets into position on their hands and toes, and their stomach starts sinking toward the ground. The typical cue is to pull the ribs up.
Before I cue anything, I want to know whether a push-up is the right exercise for them at that point. Strength may not be what's limiting them. If they don't have 90 degrees of shoulder flexion, they may not have the range of motion to get into a standard push-up position at all. In that case we can modify it by elevating their hands, putting their hands on ramps, or setting their hands a little wider.
If the push-up is appropriate, I cue the hands. Tucking the ribs tends to round the shoulders or shrug them up toward the ears. Cueing hand position and pressure creates a reach through the arms, and that reach is what lets the ribcage sink back between the shoulder blades. So instead of "tuck your ribs," I'll cue them to push through their hands and think about lifting their chest up between their shoulder blades.
A couple of details matter here:
- Keep the elbows slightly bent. If the elbows lock out while they push, they're compensating by hyperextending the elbows, which creates the same problem as tucking the ribs.
- Push through the inside edge of both hands. This is what drives the lift through the ribcage.
This works because the hands are in contact with the ground, which is what we mean by closed chain. That contact gives us an active reach, and the reach allows the ribcage to retract, meaning it shifts back in between the shoulder blades. If the cue still doesn't work, that's a sign to reevaluate the exercise.
Anterior pelvic tilt: start at the feet
With the pelvis, I see a lot of coaches tell clients to squeeze their glutes or manually tuck their pelvis during standing leg exercises. As we covered above, that just pushes them into the opposite extreme.
An anterior pelvic tilt suggests the client is sitting more in their toes. So I'll pick exercises that let them sit back into their heels and force their feet to push them back. A few options:
- TRX squats
- Hack squats against the wall
- Reverse walking
In each of these, the legs are doing the work of repositioning the pelvis.
On the floor, I'll have the client lie down with a pad under their hips and cue them to press the tag of their pants into the ground. That doesn't create a big rotation of the pelvis. It lets the pelvis sink back and stay grounded, the same way it would if their heels were grounded in standing.
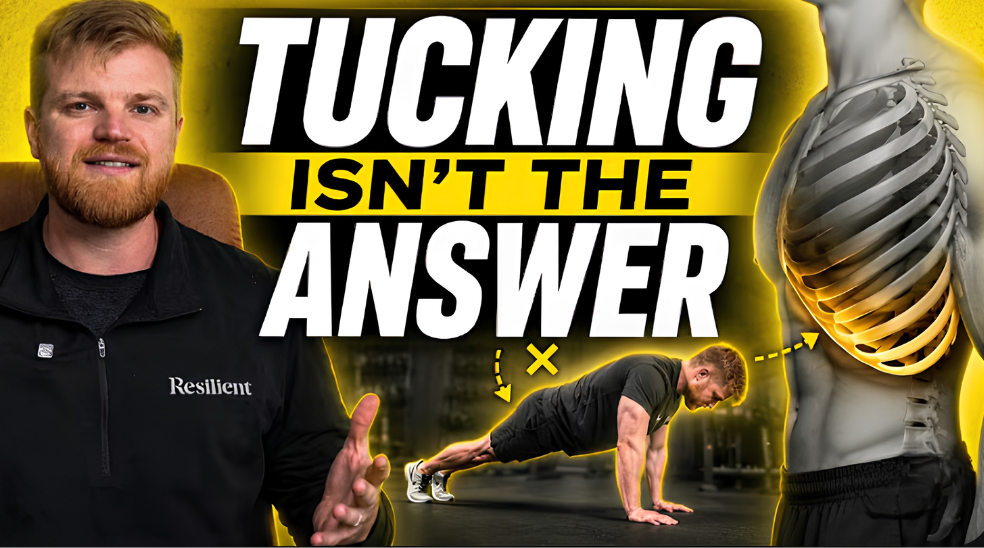
I demonstrate both of these, along with how the hand and elbow positions look in the push-up, in this week's video if you want to see the cues in action.
Why this gives you more options
These small positional changes reinforce the movement we want without asking the client to think their way into a position. They also give you more transfer between exercises and more variations to choose from.
When all of your attention is on the ribcage or pelvis, it's hard to find exercise variations that help, because you're relying on the client to hold the position themselves. Once you start using the hands and feet, every exercise becomes another way to reinforce what you're after.
The takeaway
The goal behind "tuck your ribs" and "tuck your pelvis" is a good one. We want those areas in a better position. We can just get there more effectively by understanding why they're out of position and using the hands, feet and everything in between to bring them back.
If you want to build this into how you choose exercises for every client, that's what my Roadmap to Exercise Selection is built around. It walks you through how to pick and progress exercises based on what's driving a client's position, so your cues have far less heavy lifting to do.

