
Fix Your Knee Pain Fast: The Biomechanics Phase That Changes Everything
Oct 27, 2025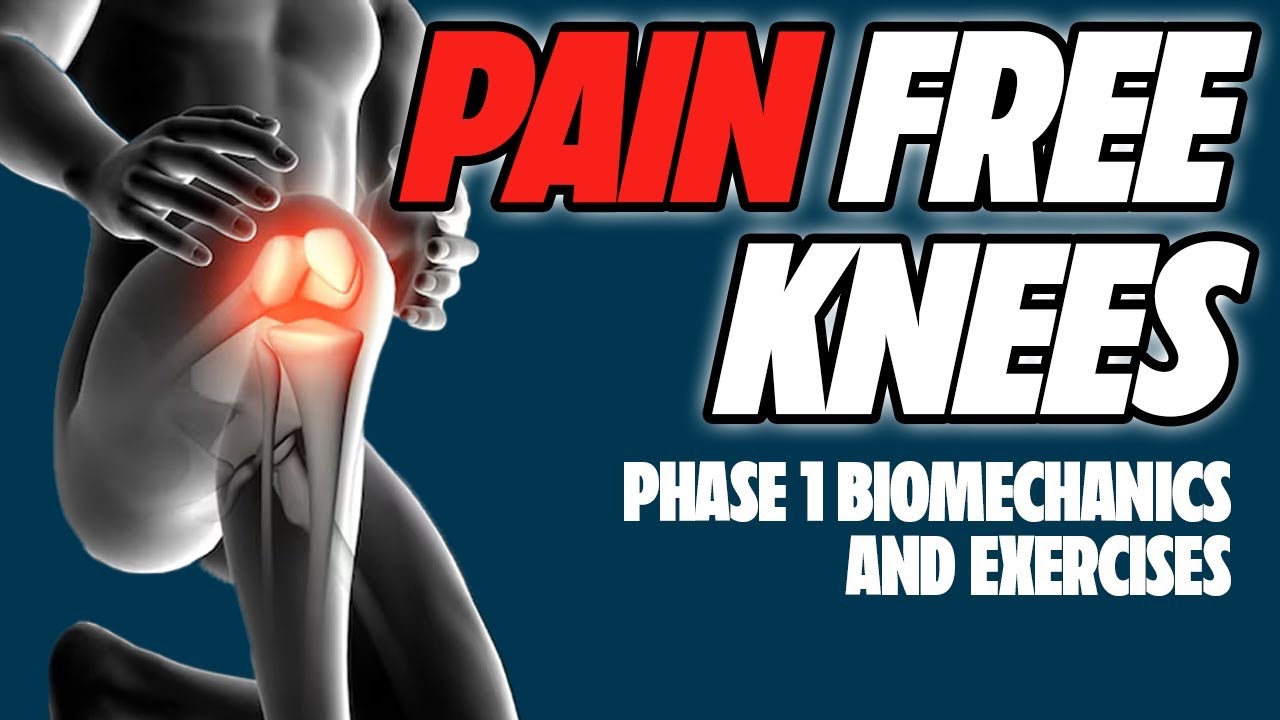
If you’ve ever tried to strengthen your knees to get rid of pain and it didn’t work, this post will show you why.
Why Knee Pain Is a Full-Body Problem
Knee pain rarely starts at the knee. It’s often the result of poor force distribution throughout the lower body. When your foot strikes the ground, force travels from the foot, through the shin and should distribute throughout the quads, hamstrings before travelling to the hip.
If it isn't in the position to do this, your knee ends up taking the load.
When your joints don’t move well together, the muscles can’t contract efficiently. The body does what it can to keep you moving, but that compensation comes at a cost: tendons get overloaded, muscles get tight, and joints get irritated.
This is why. before you strengthen, you must restore how your body moves because your muscles can't work if they aren't in the position to do so.
As I have discussed in my courses and previous posts and content, joint position dictates muscle function.
This is why, when working with my clients, I think about restoring the biomechanics first.
The Purpose of Restoring Biomechanics First
The first step in solving knee pain is to teach your joints how to move again.
If your femur, tibia, and pelvis don’t move in harmony, every squat, lunge, or step reinforces the wrong pattern. Over time, that becomes your default and that’s when chronic pain shows up.
One of the key things that I like to emphasize is that this isn't just rehab, because people who don't experience pain can benefit from these movements.
We want to create alignment that allows your body to absorb and redirect force naturally. That means focusing on internal rotations, joint positioning, and force management.
The Biomechanics of a Healthy Knee
When your knee bends (flexes), three key actions happen together:
-
The tibia (shin) rotates inward.
-
The femur (thigh) rotates outward relative to the tibia.
-
The hip internally rotates to allow the above to occur.
That trio — tibial internal rotation, femoral external rotation, and hip internal rotation is what allows for knee flexion.
As you can see in the video below:
When that sequence breaks down, your body loses its ability to absorb force. Instead of “yielding” into a step, the leg stiffens. You strike the ground with a locked knee, which sends stress directly to the patellar tendon, meniscus, or joint capsule.
Over time, this shows up as:
-
Patellar tendonitis
-
Pain on the inside or outside of the knee
-
“Pinching” or clicking sensations when bending
-
Tightness through the quads and hip flexors
Unfortunately, most people try to fix these issues by stretching or strengthening without ever addressing the real issue: how the joints are moving...
Rebuild Your Knee Mechanics
To help improve knee pain, the goal of this phase is simple:
✅ Restore normal motion in the tibia, femur, and pelvis
✅ Reinforce internal rotation mechanics
✅ Reintroduce load with control
We’ll do this with three foundational exercises that reprogram how your lower body distributes force.
1. The Tibial Smash (Restoring Tibial Internal Rotation)
This is one of my go-to drills for anyone struggling with restricted knee flexion or chronic stiffness around the patellar tendon.
How to do it:
-
Sit with a foam roller under the front of your knee.
-
Move your foot slightly out (externally rotate).
-
Lean your body inward while applying gentle pressure with the roller.
-
Rotate your lower leg (tibia) inward and gently rock side to side.
Perform 2 sets of 30 seconds, moving slowly. You’ll feel the tissues around the shin start to release and that’s your tibia learning to move again.
Why it works:
If the tibia can’t rotate, every time you bend your knee, the femur and tibia “jam” against each other. This drill restores glide between them and sets up the next two phases.
2. Side-Lying Hip Shifts (Teaching Hip Internal Rotation)
This is where we connect the knee to the pelvis which is a critical link most people skip.
Setup:
-
Lie on your side with both feet gently pressing into a wall.
-
Keep your hips and shoulders stacked no rolling!
-
Place a foam roller or pillow between your knees.
-
Slowly shift your top knee forward and back, maintaining pressure into the wall.
Perform:
10–15 slow, controlled reps (3 seconds forward, 3 seconds back). You’ll feel your adductors (inner thigh) and glute medius kick in.
Why it works:
This builds control through the femur and pelvis, teaching them to move relative to each other without the low back or trunk compensating. It’s how we restore internal rotation which is the missing piece in most knee rehab programs.
3. Cable Hinge (Integrating the Chain Under Load)
Now we start to integrate. The cable hinge ties together the hip, tibia, and pelvis while adding just enough resistance to challenge coordination.
How to do it:
-
Stand in a kickstand stance: front leg loaded, back leg light on the toes.
-
Hold a cable across your body.
-
As the cable pulls you forward, hinge at the hips.
-
Keep your knee bent and drive through your heel as you come up.
2 sets of 8 reps, 3 seconds down, 3 seconds up.
Why it works:
The cable forces your body to resist external rotation meaning your hip and tibia have to internally rotate to stay stable. It’s one of the fastest ways to reintroduce load without pain.
What Happens Next: The Transition to Load
Once the joints move properly and the body can control internal rotation, we can move into Phase 2: Rebuilding Load Tolerance.
That’s where we start adding strength, power, and speed but it only works if your mechanics are dialled in first.
Skipping this step is like building a house on sand. You might get stronger for a while, but those imbalances will always pull you back into pain.
Final Thoughts: The Real Path to Pain-Free Knees
Most people treat knee pain as an isolated issue. But your knee is a major hub for redistributing force and it reflects what’s happening above and below it.
By focusing on restoring joint mechanics before adding load, you’re setting up your body to move the way it was designed to efficiently, powerfully, and without pain.
If this clicked for you and want to learn more about the mechanics of the body like this, then check out my Foundations of Biomechanics Course!

