
Is Your Back Pain Coming From Your Hips? A 30-Second Test to Find Out
Nov 05, 2026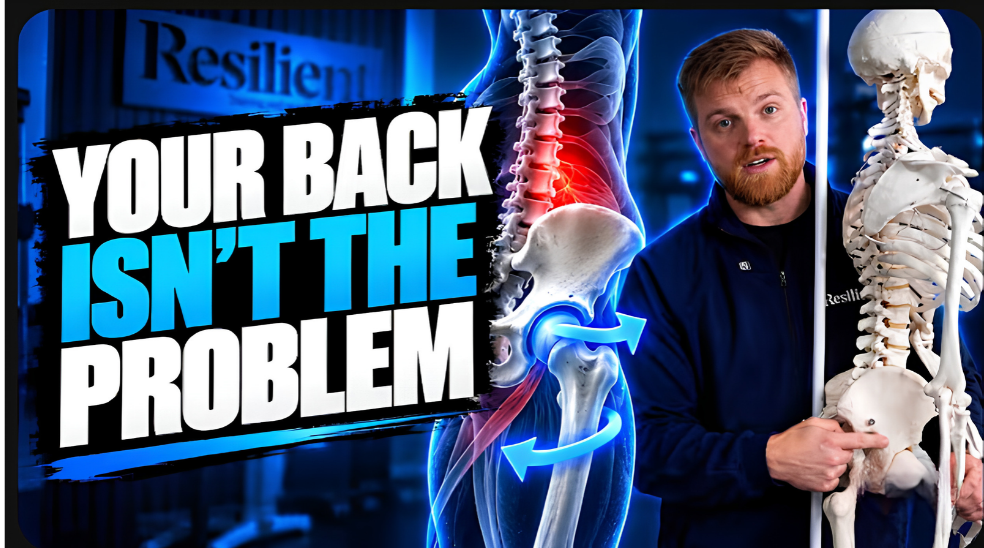
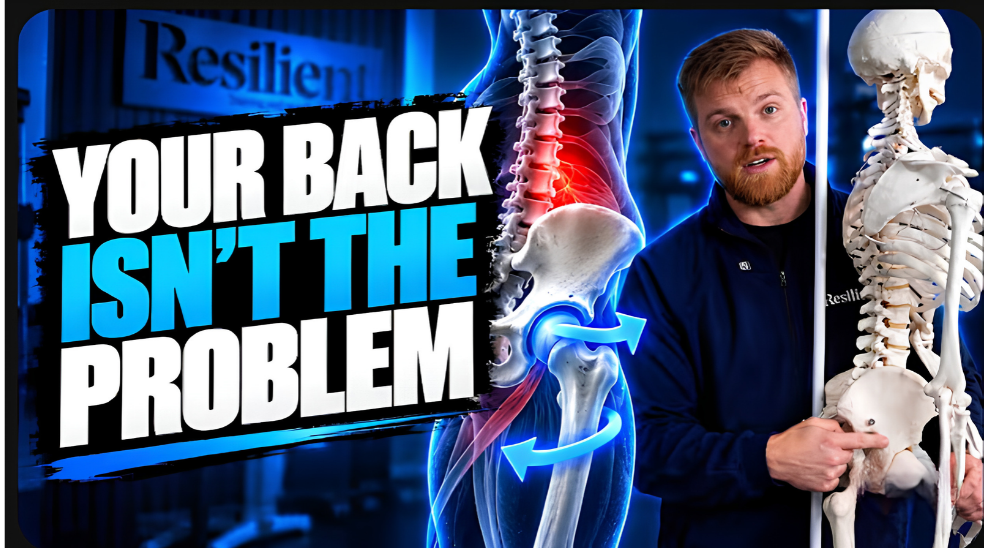
If your lower back has been bothering you, it's natural to assume the problem lives in your back. That's where you feel it, so that's where most people focus.
In my experience, one of the bigger players in low back tension sits a little lower. It's your hip's ability to internally rotate, and you can check it in about 30 seconds.
Before we get into it, an important note. Back pain is multifactorial, and there are a lot of different things that could be going on. Hip internal rotation can be one of them, or it could be a reason your back is working so hard, but it won't explain every case. It's always a good idea to get assessed so you understand what's happening with your own back. Everything below is based on general principles and is for educational purposes only. If any of these exercises cause discomfort, don't do them.
Why Your Hips Affect Your Lower Back
Your body is good at getting movement done one way or another. When one area can't do its job, something nearby picks up the slack.
That's what happens when your hip can't internally rotate. The motion still has to come from somewhere, so your lower back takes over. It arches, it turns toward the other side, and it makes up for what the hip can't do. Over time, that's a lot of extra work and tension running through your back.
What I notice with a lot of people is that as they start to restore internal rotation, the tension in their lower back starts to come down. The back doesn't have to work so hard anymore.
What Hip Internal Rotation Is
Picture bringing your knee up so your hip is bent to 90 degrees. From there, turning your thigh inward is internal rotation.
For that to happen, the back of your hip needs to be open. As the thigh turns in, the femur (your thigh bone) and the hip socket should move away from each other at the back. That area is called the posterior capsule.
When the posterior capsule is tight, or closed, the hip doesn't have room to internally rotate. So the body finds another way. People throw their hip forward instead, and you start to see the foot turn out to the side. If you've ever noticed someone walking like a duck, this is often part of what's going on.
That's why this assessment is so useful. It tells us a lot about what's happening at the pelvis itself.
Why One Side Matters More
Both hips can be limited, just to different degrees. The side that's more limited is usually the side you'll turn away from.
Let's say your left hip has less internal rotation than your right. You'll often see the hips shift toward the right and the pelvis turn toward the right. Sometimes the rib cage rotates along with it.
This is also why some people feel back pain on the side opposite the stiffer hip. And it's why, when choosing exercises, it helps to identify these other compensations so you can find positions that reduce some of the tension going to the lower back.
The 30-Second Hip Internal Rotation Test
Here's how to check it:
- Sit down so your hips and knees are both at 90 degrees.
- Keeping your knee in place, turn one foot out toward the side. This rotates the thigh inward.
- Stop when you start to feel tension. Don't force it.
- Repeat on the other side and compare.
If you're limited, the leg won't travel very far, and you may even feel some cramping in the side of the hip.
You might find one side is noticeably more limited than the other, or that both are limited to different degrees. In the video, you'll see my left side is a little more limited than my right.
This test doesn't give the full-body picture on its own. When I assess someone, I use it alongside other measurements. It's a great starting point, though, because it tells me what position the pelvis is in and what it's able and not able to do.
Two Exercises to Improve Hip Internal Rotation
Both exercises below focus on the right hip. Flip the setup if your left side is the one you're working on.
1. Foam Roller Hip Decompression
The first exercise uses a foam roller to decompress the hip. With the roller placed under your hip, the pelvis is compressed from the side, which helps the back of the hip open up. That creates a pelvis shape that allows the hip to internally rotate.
You'll lie on your side with the foam roller under your beltline. The bottom leg stays straight or slightly straight with the outside of the ankle on the ground, and the top leg comes up into a relaxed position that acts as a brake so your body doesn't roll forward.
From there, you breathe in through your nose as you reach the top knee slightly forward, feeling your weight shift toward the front of the hip. Then you breathe out as you bring it back to center. The goal is a small, controlled shift between the front and the middle of the hip, without pulling back into an open position.
2. Supine Hip Internal Rotation With Upper Back Reach
The second exercise is done on your back with a pad under your hips. The pad lets your upper body relax into the ground and tilts the pelvis underneath you without you having to force it.
Your right foot stays planted, with the focus on the inside edge of the foot. Your left leg comes up and rests into your left hand. Your right arm makes a fist, flexes, and reaches the elbow across toward the left, while you keep your beltline level.
From there, you breathe in through your nose as you reach that elbow toward the ceiling and feel your right upper back stretch. Then you breathe out as you press the inside edge of your right foot into the ground. You should feel your hamstrings start to work. If you don't, bring that foot a little closer.
The setup and breathing on both of these matter, and they're much easier to follow when you can see them. I walk through each one step by step in the full YouTube video, along with the hip internal rotation test.
Putting It Together
If your lower back keeps getting tight no matter how much attention you give it, take 30 seconds and check your hips. Limited internal rotation can mean your back has been doing a job your hip was supposed to do.
Remember, this is one piece of the puzzle. Back pain has many possible causes, and getting assessed is always the best way to understand your own situation.
For Coaches
If you work with clients who deal with back tension, this test is a simple way to start learning what's happening at the pelvis before you choose exercises. Connecting assessments like this to the exercises you pick is what the Roadmap to Exercise Selection was built for.

