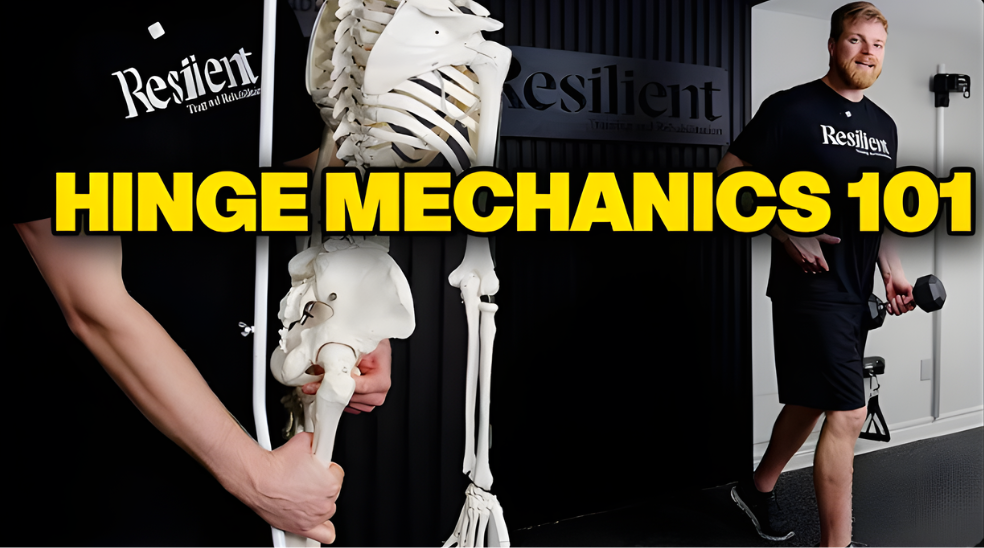
The Ultimate Guide to the Hip Hinge
Jun 22, 2026
The hinge is one of the most fundamental movement patterns in training. It shows up in deadlifts, Olympic lifts, split stance work, and even everyday tasks. But for many people, the hinge becomes compensation-driven: knees straighten, hips dump forward, low backs take over, and the glutes never fully contribute.
A good hinge is not about squeezing harder or sitting back farther. It’s about positioning. When you understand what a hinge actually does at the hip and pelvis, the entire movement becomes clearer and more consistent.
This breakdown walks you through the key biomechanics behind a proper hinge and two variations you can use with clients right away.
What a Hinge Actually Requires
To hinge well, the hip and pelvis must work together. The primary driver is internal rotation.
1. Internal Rotation of the Femur
The femur needs to rotate internally so the pelvis can roll over it. Internal rotation creates space inside the hip socket and sets up the pelvis for efficient forward folding.
2. Internal Rotation of the Pelvis
As the femur internally rotates, the upper part of the pelvis needs to close and the back side needs to open. In simple terms, the space between the sit bone and tailbone should widen.
This opening allows the sit bone to move upward rather than backward, which keeps the hinge from turning into an anterior pelvic tilt.
3. A Stable, Slightly Bent Knee
The knee should stay softly bent throughout the movement.
Most people bend the knee and let the hips drift with it, which collapses the hinge.
A better cue:
Knee goes forward. Femur pulls back.
This keeps the pelvis positioned over the femur instead of dumping forward.
You can even place a foam roller in front of the knee as a tactile reminder to maintain that soft bend.
4. The Sit Bone Moves Up, Not Back
Think of your sit bone like a wheel rolling up a wall. The goal is vertical motion, not pushing your hips back horizontally.
When the sit bone moves up, the pelvis opens in the back, the glutes load naturally, and the hinge stays stacked instead of collapsing.
Putting It Together: Key Cues for the Hinge
Use this sequence to find the position:
-
Knee moves forward.
-
Femur pulls back into the socket.
-
Sit bone moves up toward the ceiling.
-
Keep the heel heavy to maintain the opening at the back of the hip.
If you feel like you're drifting over your toes, that’s normal.
Press the heel down and let the hip open behind you.
As you return to standing, think:
Knee stays forward. Hip moves through.
This keeps the pelvis moving over the femur instead of extending through the low back.
Variation 1: Staggered Stance Deadlift
A staggered stance hinge drives internal rotation on the back leg.
Why use it:
It forces the pelvis to turn toward the back leg, which demands controlled internal rotation. This helps clients who tend to spin or rotate through the hinge rather than load the hip.
How to coach it:
• Line up the toes of the back foot with the knuckles of the front toes.
• Keep more weight on the back leg.
• Maintain a soft bend in the front knee.
• Push yourself slightly toward the back-leg side.
• Let the sit bone roll up as you hinge.
This variation helps improve femoral internal rotation before moving on to more extension-focused hinges.
Variation 2: Kickstand Deadlift
The kickstand hinge drives the sit bone to tailbone opening, which supports strong hip extension.
Why use it:
It reinforces the back-of-pelvis opening needed for powerful hip drive and clean hinge mechanics. It’s also useful once someone already has enough internal rotation to control the motion.
How to coach it:
• Knee goes forward, femur pulls back.
• Keep the back foot active (push through the ball of the foot as if starting to step).
• Shift into the working leg by pressing the inside of the foot.
• Let the sit bone rise up the wall.
• Avoid straightening the knee or arching the back as you return to standing.
This variation restores the space needed for proper hip extension without overusing the lumbar spine.
The Takeaway
A great hinge has nothing to do with pushing your hips back as far as possible or squeezing your glutes at the top. It comes from understanding how the hip and pelvis work together.
When you use internal rotation, maintain a stable knee position, and guide the sit bone upward, the hinge becomes smoother, stronger, and more efficient. And when you pair these mechanics with the right variation for the right person, you get better outcomes in less time.
Watch the full video for a complete walkthrough of the mechanics, cues, and demonstrations of both hinge variations:
Watch the full hinge breakdown on YouTube