
Why One Hip Sits Higher (And What to Do Instead of Stretching It)
Oct 15, 2026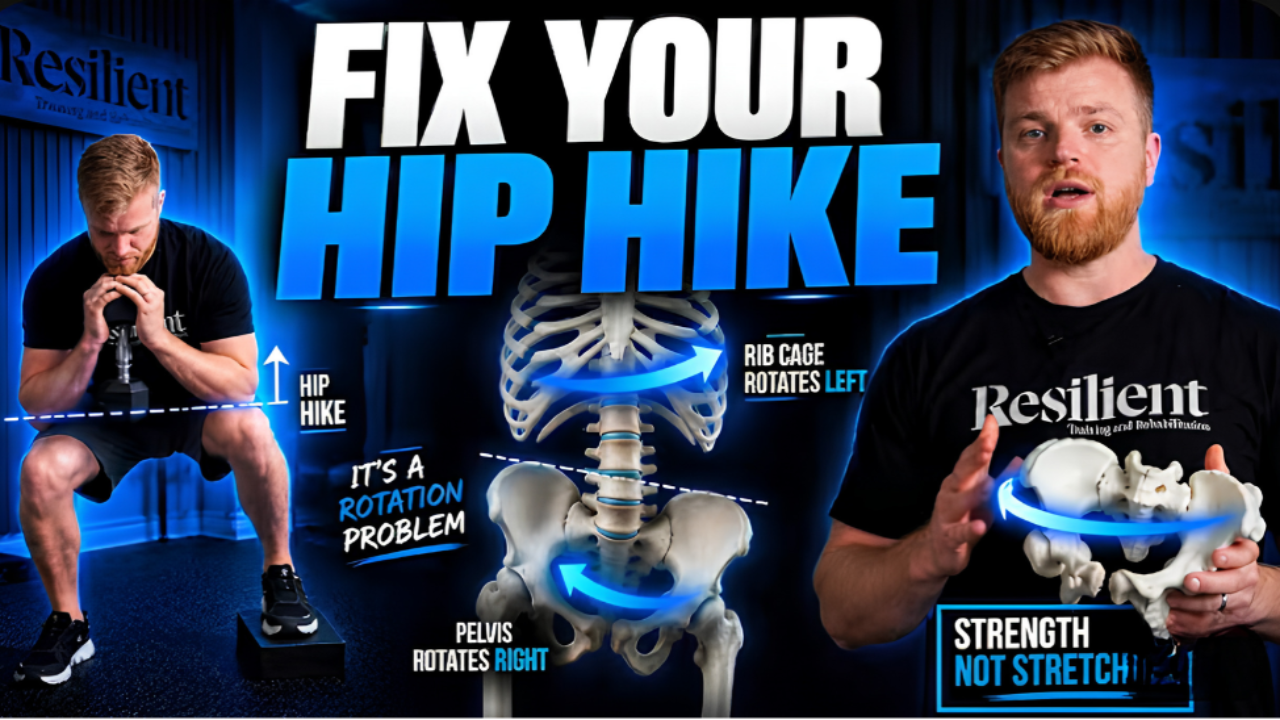
One of the most common compensations you'll see in the gym is one hip sitting higher than the other. It shows up in the squat, in a toe touch, and often in the deadlift as well. Once you start looking for it, you'll notice it in a lot of the people you work with.
The usual response is to stretch the muscles around that hip. The thinking makes sense: if the area feels tight and the pelvis looks uneven, bringing the tension down should even things out. In practice, that 20-minute stretching routine rarely changes much for long, and there's a good reason for that.
The tension around the hip is usually a response to something else. Your client's body is using it to solve a problem, and until that problem is addressed, the body is going to keep holding on.
In this post I'll explain what's driving the hip hike and walk through two ways to address it with strength training, using the squat your client is already doing.
The Hip Hike Is a Rotational Pattern
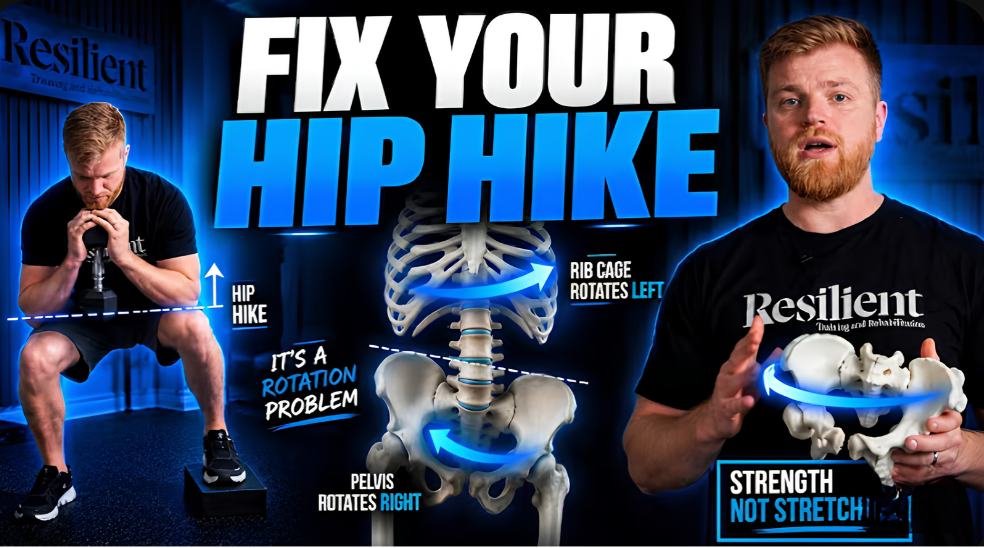
A hip hike looks like a side bend through the pelvis or the ribcage. Underneath it, though, there's rotation happening.
Picture a pelvis that's turned toward the right. To keep facing straight ahead, the ribcage turns back toward the left to counter it. That alone is common and manageable. The issue shows up when the person doesn't have enough hip internal rotation.
Without that internal rotation, there's nothing to stop the pelvis as it turns toward the right. The body keeps rotating, so it needs another way to put on the brakes. Hiking up through the hip is how it does that. The hike pushes the person back toward the left and keeps them from continuing to turn.
So the higher hip is the result of a rotational problem and a joint that can't access the motion it needs.
Why Those Muscles Feel So Stiff
The muscles around that hip are working constantly to hold the pelvis in position and keep it from rotating further. Anything that works that hard all day is going to get stiff.
That stiffness is what most people try to stretch away. The problem is that those muscles are acting as brakes. If you ask them to let go without giving the body another way to manage the rotation, they'll tighten right back up, because the body still needs them.
You'll often see a few other signs alongside the hike, like a higher arch on the right side. When you measure these clients, the right side also tends to show better hip flexion than the left.
What We're Trying to Do Instead
The goal is to help your client push off the right side so the pelvis can turn back toward the left on its own.
Most people try to get there by dropping the right shoulder, side bending through the ribcage, or hiking the hip. Those are all ways of compensating for the missing rotation. What we want is for the right side to drive the movement so the pelvis can come back toward the middle and the left hip can drop down and turn.
The good news is that you don't need a new exercise to do this. You can change how your client performs the squat.
Squat Variation 1: Elevate the Left Foot
The first option is to make the lower body asymmetrical by placing the left foot on something slightly elevated.
Because the pelvis is already rotated toward the right, your client naturally carries more weight on that side. Raising the left foot puts even more weight on the right leg, which forces them to push back toward center just to level themselves out. That push is the motion we've been missing.
From this position, your client gets more right hip extension and turns back into the left side, along with more hip flexion on the left. Given how often the left side measures worse for hip flexion in these clients, that's exactly where you want the work to go.
A few notes on setup:
- Height: About two inches or less is ideal. You want enough of an offset that most of the weight shifts to the right leg, but if the surface is too high, the left hip will start to hike up and you've recreated the problem.
- Surface: Use something solid so the foot doesn't sink in or roll out. A stacked ramp, a yoga block, a slightly thicker plate, or a low stepper all work. Avoid soft pads.
Squat Variation 2: Offset the Upper Body
The second option keeps the feet level and creates the asymmetry through the upper body instead.
An offset kettlebell squat works well here, and a safety bar squat with one elbow positioned slightly wider is another good choice. Since we're trying to turn the client back toward the left, the right elbow sits out and the left elbow stays tucked.
With the kettlebell version, the load on the left opens up the left side of the back enough that your client can turn back into it. That lets them push off the right side, sit back more into the left heel, and shift more forward through the right foot.
The details of arm position and cueing are easier to see than to read, so I walk through both variations step by step in this week's video.
Rethinking the Hip Hike
The hip hike has less to do with muscle tension than it seems. The tension is a reaction. What's underneath is rotation and the joint's capacity to move, or not move, through the range it needs.
Once you see the muscles as brakes that keep your client from turning too far, the approach changes. Instead of trying to stretch them into letting go, you give the body a better way to manage the rotation, and the tension tends to settle on its own.
Want a Program That Addresses This Through Strength Training?
If you want to address patterns like this without relying on long stretching routines, take a look at my Rebuild Blueprint. It's a 12-week strength and mobility program designed to help you train more effectively and more intelligently, using the kind of strength work covered in this post.

