
Why Stretching Isn't Restoring Hip Internal Rotation (And What to Try Instead)
Sep 30, 2026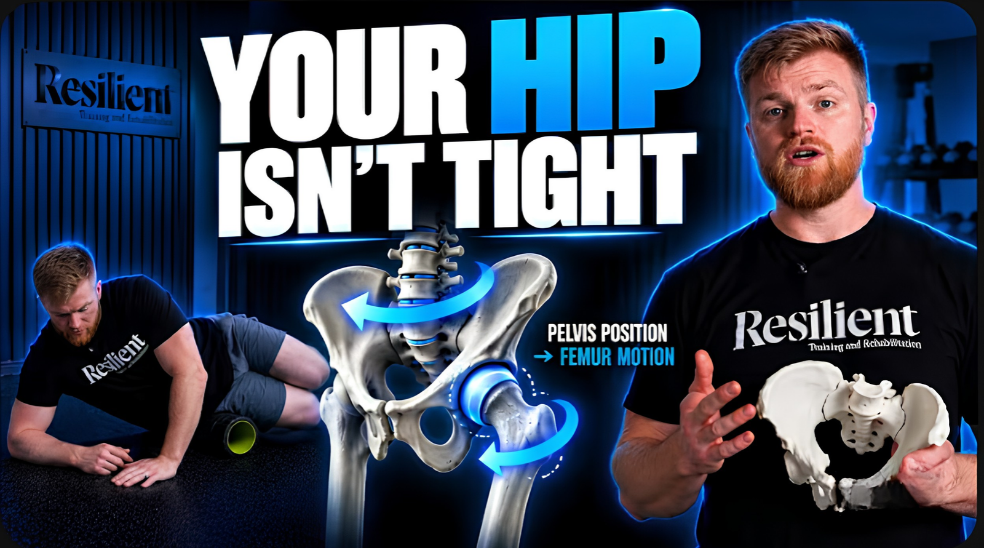
If you've ever had a client with a stiff hip, you already know the standard advice. Look it up online or ask around, and most people will tell you to stretch it.
For a limitation in hip internal rotation, that usually means the pigeon stretch, some version of windshield wipers where the leg gets pulled down toward the floor, or a band used to crank the joint into more range. It's a reasonable instinct. The joint feels tight, so we try to loosen it.
In my experience, though, a lot of people run into problems with this approach. They feel more pinching in the front of the hip than they did before, and the range they gain doesn't last. That's usually a sign we're working on the wrong piece of the puzzle.
So instead of reaching for another stretch, let's look at what's driving the limitation, how to restore the position underneath it, and two exercises I use with clients to get there.
What a Lack of Internal Rotation Is Telling You
Most people who are missing internal rotation are missing it because of positioning.
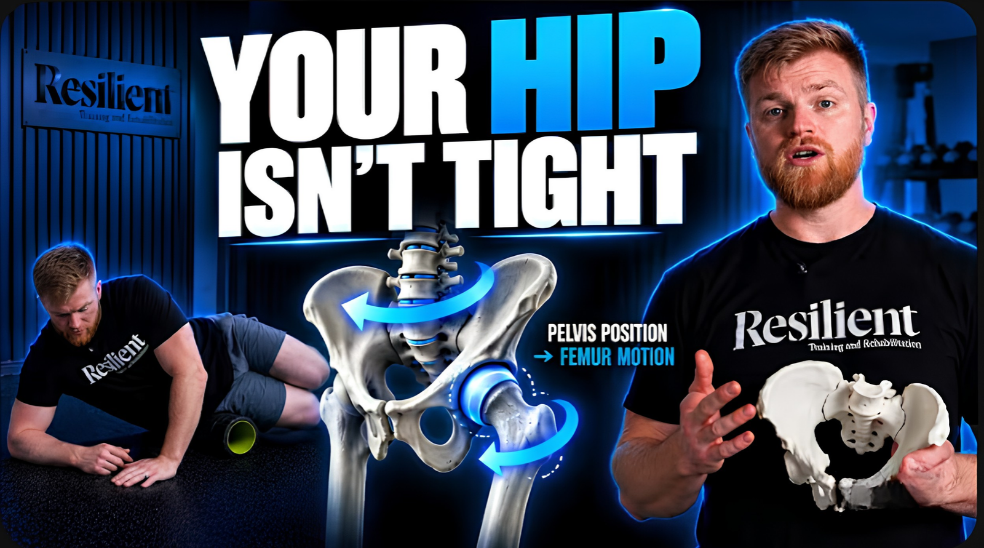
Picture a pelvis that's oriented toward the right. To keep from continuing to spin in that direction, the right femur needs to internally rotate and act as a brake. That's one of its jobs.
When that motion isn't available, the body still needs to stop the rotation somehow. So it finds another way. The hip hikes up, a shoulder drops, or some other compensation shows up to keep the person from rotating over.
Here's the part that changes how I approach it. If the pelvis is already turned toward the right, then that right hip is already sitting in internal rotation. There's no more to give. Trying to crank it further with stretching only pushes the joint deeper into compression, which lines up with the pinching so many people describe.
Look Above the Femur
The femur moves based on where the sockets are facing and where the pelvis is positioned as a whole. That means the answer often has less to do with the femur itself and more to do with what's happening above it, at the pelvis and the ribcage.
Rather than focusing on stretching the muscles at the front or back of the hip, I'm looking at two things:
- Shape. Can we get the sockets facing more forward so the femur has room to move?
- Position. Can we turn the pelvis back toward center so it isn't stuck facing one direction?
Get both of those in place, and the femur can move more freely through the joint without being forced there.
Exercise 1: Foam Roller Walkover
The first exercise addresses shape. The goal is to help the pelvis reorganize so the sockets face into a better position. This is also one of the exercises in the second phase of my Rebuild Blueprint program, where the focus shifts more toward internal rotation.
You'll place a foam roller right at your belt line and lie on your side over it. There are two ways to set this up depending on how much pressure you want:
- Less intense: support yourself on your elbow, which takes some of the pressure off the hip.
- More intense: lie all the way down so more of your weight goes into the hip on the roller.
The most important detail is keeping the outside of the bottom knee and the outside of the bottom ankle on the ground the entire time. From there, you'll turn your upper and lower body toward the floor and then open back up, without letting that bottom foot lift.
A few things to watch for:
- If the roller pushes your hips up too much and you don't feel much tension, try a half foam roller or something smaller so the pelvis can mold around it.
- If you open up the top leg and can't get it in line with your shoulder, start with the other side first.
- If you find a tender spot along the way, hold there, take a big breath in, breathe out, and then move in the opposite direction.
Exercise 2: Cross Connect
Once the pelvis has been reshaped, the next step is position. In this example, the pelvis is facing toward the right, which is why internal rotation is limited on that side. So we want to start turning it back toward the left, or more forward.
That's where the cross connect comes in. You'll lie on your back with your right leg relatively straight and your foot against a wall. Keep the knee from locking out. You want to be close enough that if you pushed through the foot, the leg would hold its bend rather than straighten.
Your right hand reaches up toward the ceiling with the palm open and facing up. You can hold a dumbbell or kettlebell if you want to add load, but don't let the wrist bend back. Then march your left leg up and bring your left arm out to the side.
From there, the movement is paired with your breath:
- Breathe in as you reach your right arm toward the ceiling. Keep your upper back on the ground, but let the shoulder blade wrap around the ribcage.
- Breathe out as you push through the inside edge of your right foot. You should feel your hamstrings and lower glute turn on.
If you don't feel those muscles working, you're probably too far from the wall. Scoot a little closer and try again. Throughout the exercise, your lower ribcage and lower back should stay on the ground on both sides.
Both of these are much easier to learn by watching, so I walk through the full setup and cueing for each one in this YouTube video.
The Bigger Picture
When a joint feels stiff, it's tempting to go straight at it. But with internal rotation, the limitation is often a symptom of where the pelvis and ribcage are sitting. Restore the shape, then restore the position, and the femur can do its job.
This is the kind of thinking we build inside the EVOLVE Biomechanics Mentorship. Over 10 weeks, you'll learn how to assess what's driving a limitation like this one and choose exercises that address the position behind it, so you can help clients make changes that hold up over time. Enrollment for the next cohort is open now.
If you've got a client whose hip hasn't responded to stretching, try looking a little higher up the chain before your next session. You may find the answer has been sitting above the joint the whole time.

